
Before you leave home
- Read the instructions for your exact model and identify every valve.
- Confirm the model-specific target pressure and compatible pump/adapter.
- Check that the tent, manual pump, stakes, guy lines, rain cover/floors and any repair items are in the bag.
- Practice once before a long trip if the tent is new to you.
Every current Valhalla tent includes a manual pump. Viking’s rechargeable electric pump is optional.
1. Choose and clear the site
Use a campsite that is large enough for the published tent footprint plus guy lines and safe walk-around space. Remove sharp debris that could damage the floor. Look overhead for hazards and avoid drainage channels or low spots where water can collect.
2. Unpack and orient the tent before inflation
Lay the tent out without dragging it over rough ground. Identify the main doors, windows and living/sleeping zones and point them the way you want before the air beams are fully raised. If the model has separate modules or a vestibule, orient those sections before final anchoring.
3. Anchor according to the model instructions
Follow the model-specific sequence for corner stakes and initial anchoring. The purpose is to keep the floor and air-beam geometry aligned as the structure rises. Ground conditions may require different anchoring than the supplied stakes; never improvise in a way that conflicts with the written tent instructions.
4. Inflate with the correct pump and pressure
Connect the included manual pump—or a compatible optional electric pump—to the correct valve. Inflate only to the pressure specified for the exact model. Stop if a beam twists, the fabric is trapped, or a valve connection does not look correct.
The current public Viking product pages intentionally do not publish an unverified universal pressure. The exact model instructions control.
5. Guy out, add covers/floors and do a walk-around
Once the frame is standing, tension guy lines as instructed and install the rain cover, removable floor or transparent/privacy panels that belong to your model. Walk the perimeter and check that doors operate freely, lines are visible and stakes are not creating a trip path through the main entrance.
6. Pack down dry whenever possible
Remove loose gear, sweep the floor, and reverse the setup sequence without forcing air through closed valves. If the tent has to be packed wet, unpack and dry it fully as soon as practical before long-term storage—especially with a cotton-blend shell.
Camp safety that setup speed does not replace
- Keep flames, sparks and heat away from tent fabric.
- Never operate generators, charcoal grills or unvented fuel-burning heaters inside.
- A stove jack alone does not establish safe stove compatibility; use a stove only if written instructions for both the exact tent and exact stove permit the combination.
- Follow anchoring instructions and move to permanent shelter in dangerous weather.
Use the same routine, then follow the model-specific details
Valhalla tent
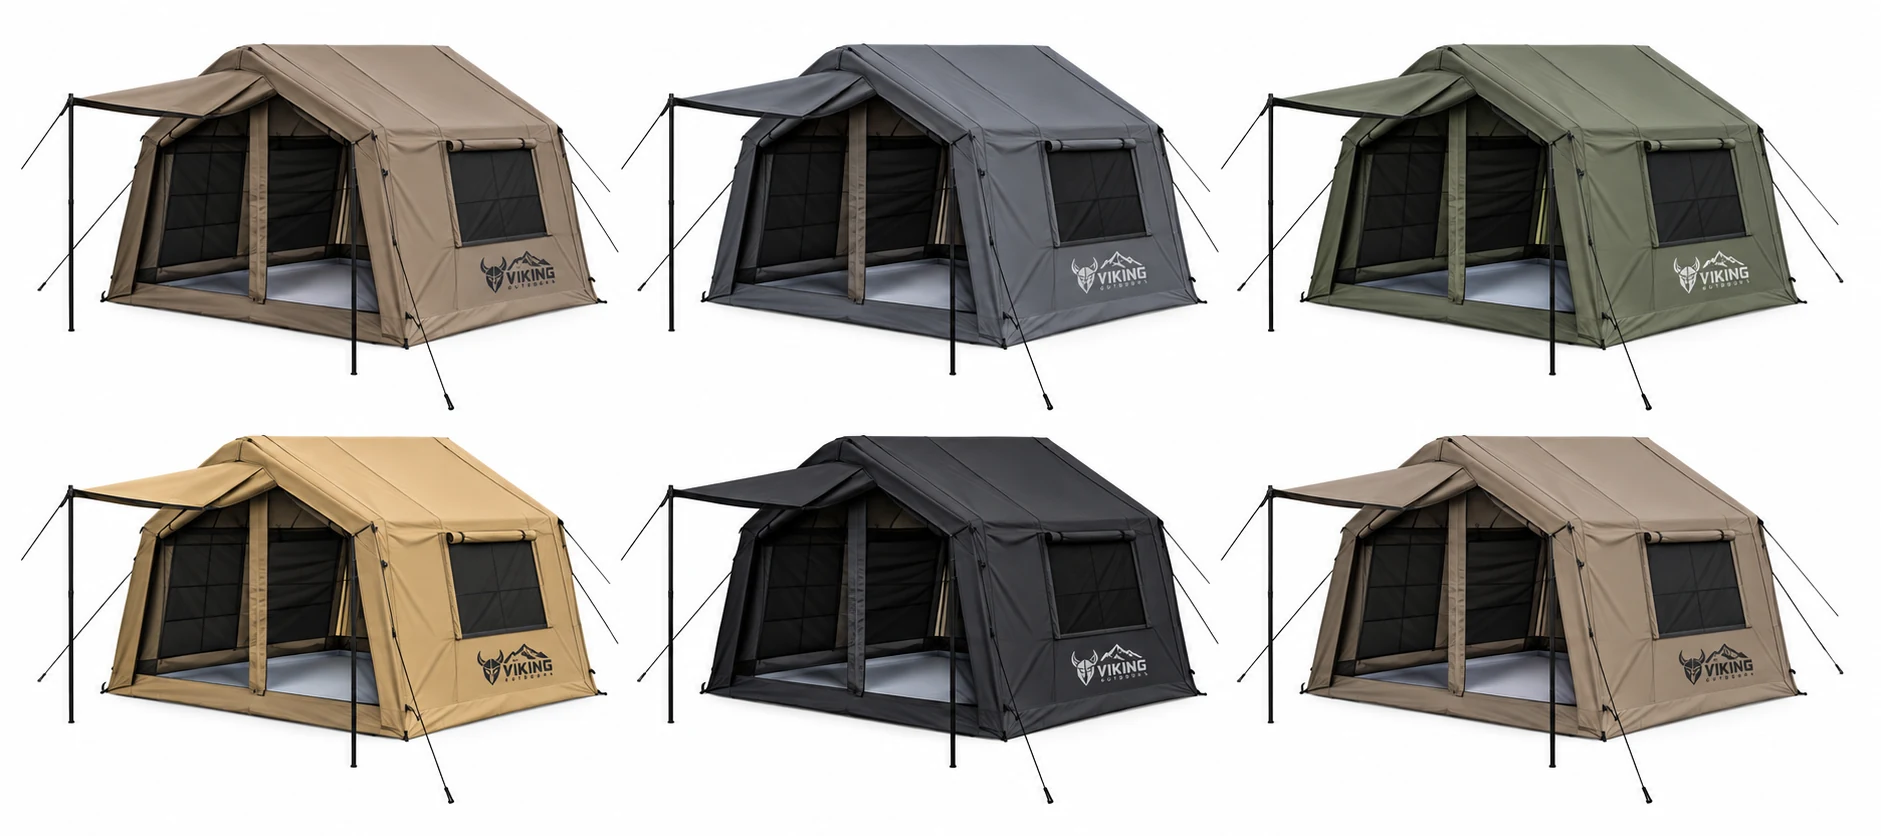
Valhalla 86 Trail
$1,149 USD
Standalone cabin with front awning. 7 ft 7 in peak/height profile.
View Valhalla 86 Trail →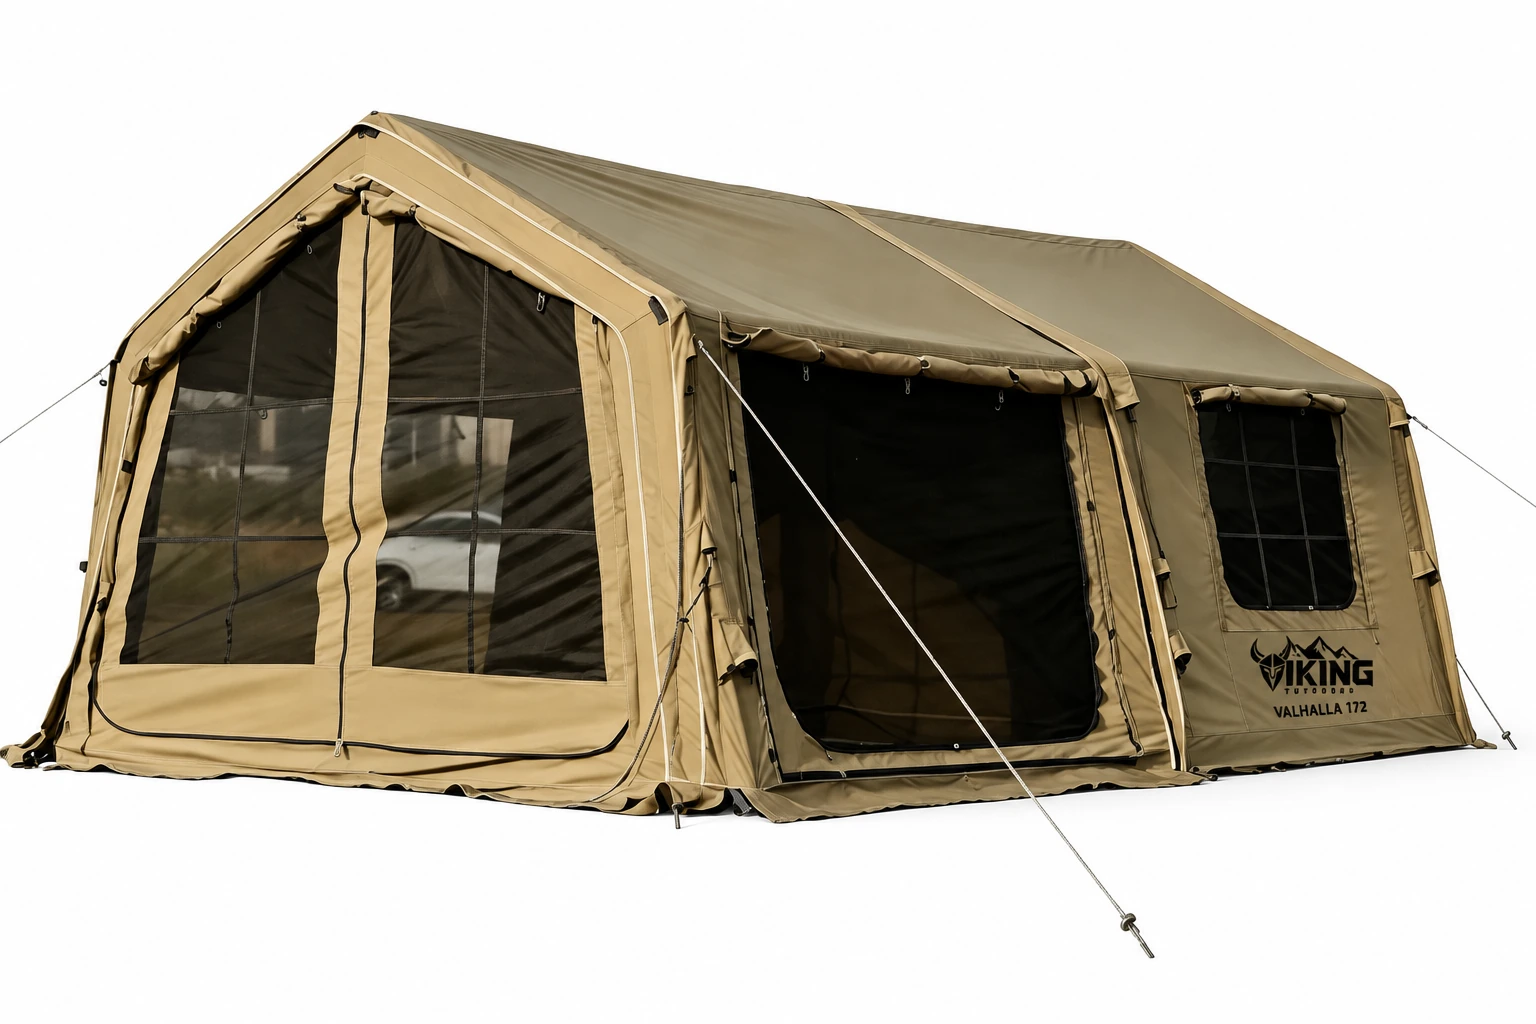
Valhalla tent
Valhalla 172
$1,999 USD
Main cabin + vestibule with removable floor. 7 ft 7 in peak/height profile.
View Valhalla 172 →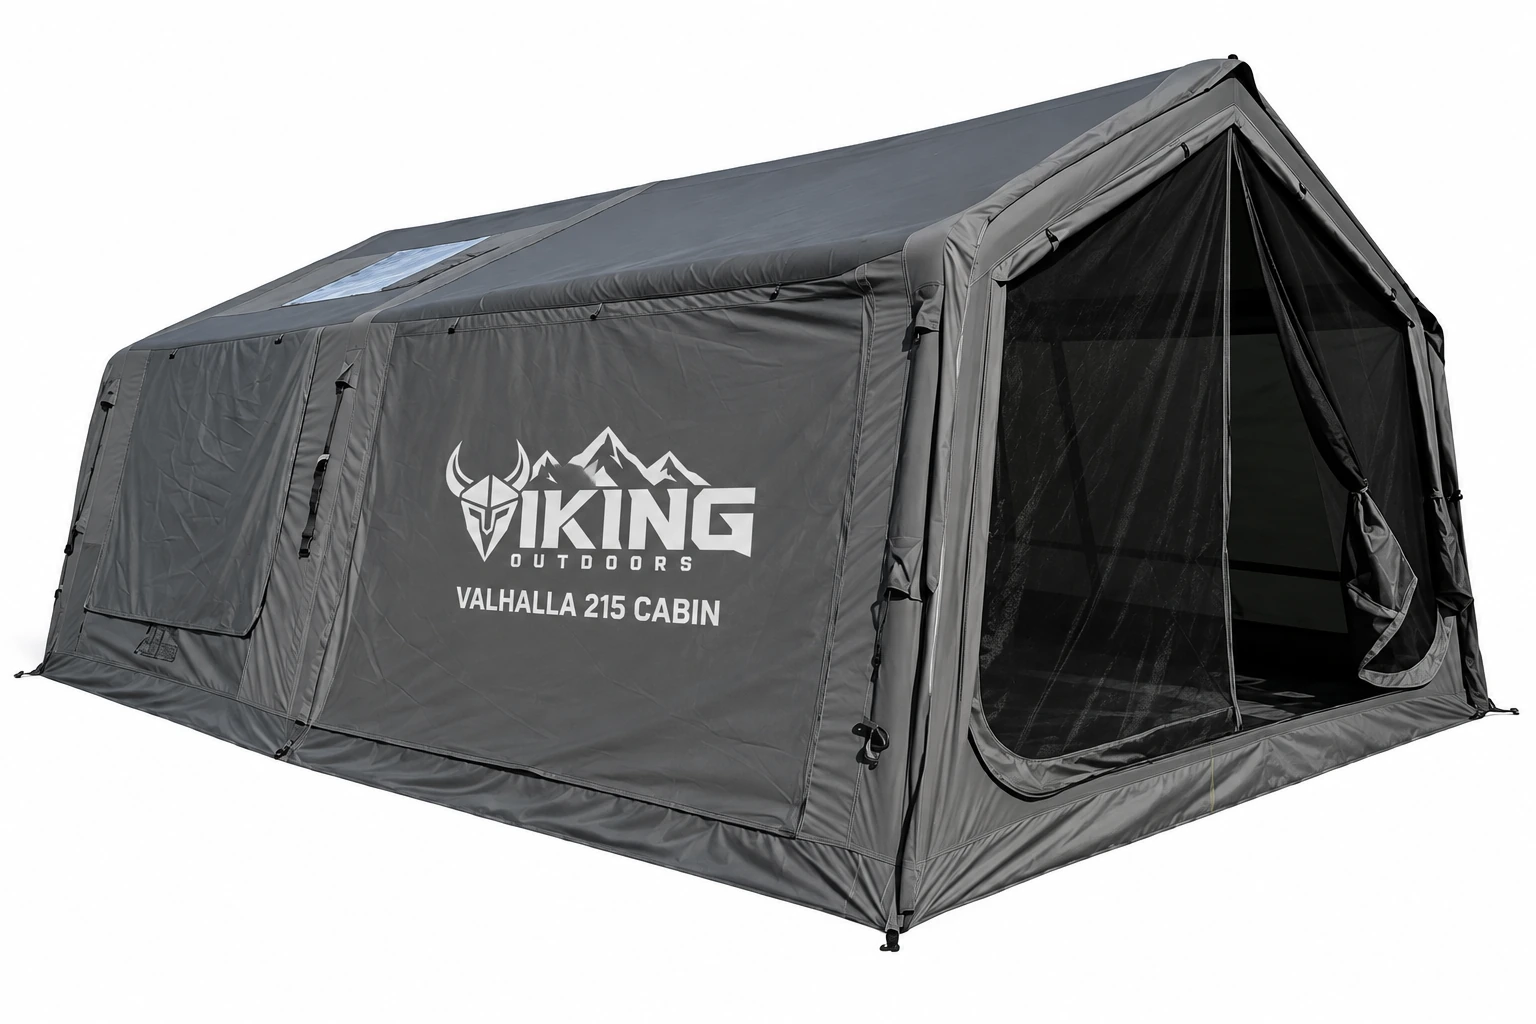
Valhalla tent
Valhalla 215 Cabin
$2,149 USD
Integrated cabin with bedroom divider and living area. 8 ft peak/height profile.
View Valhalla 215 Cabin →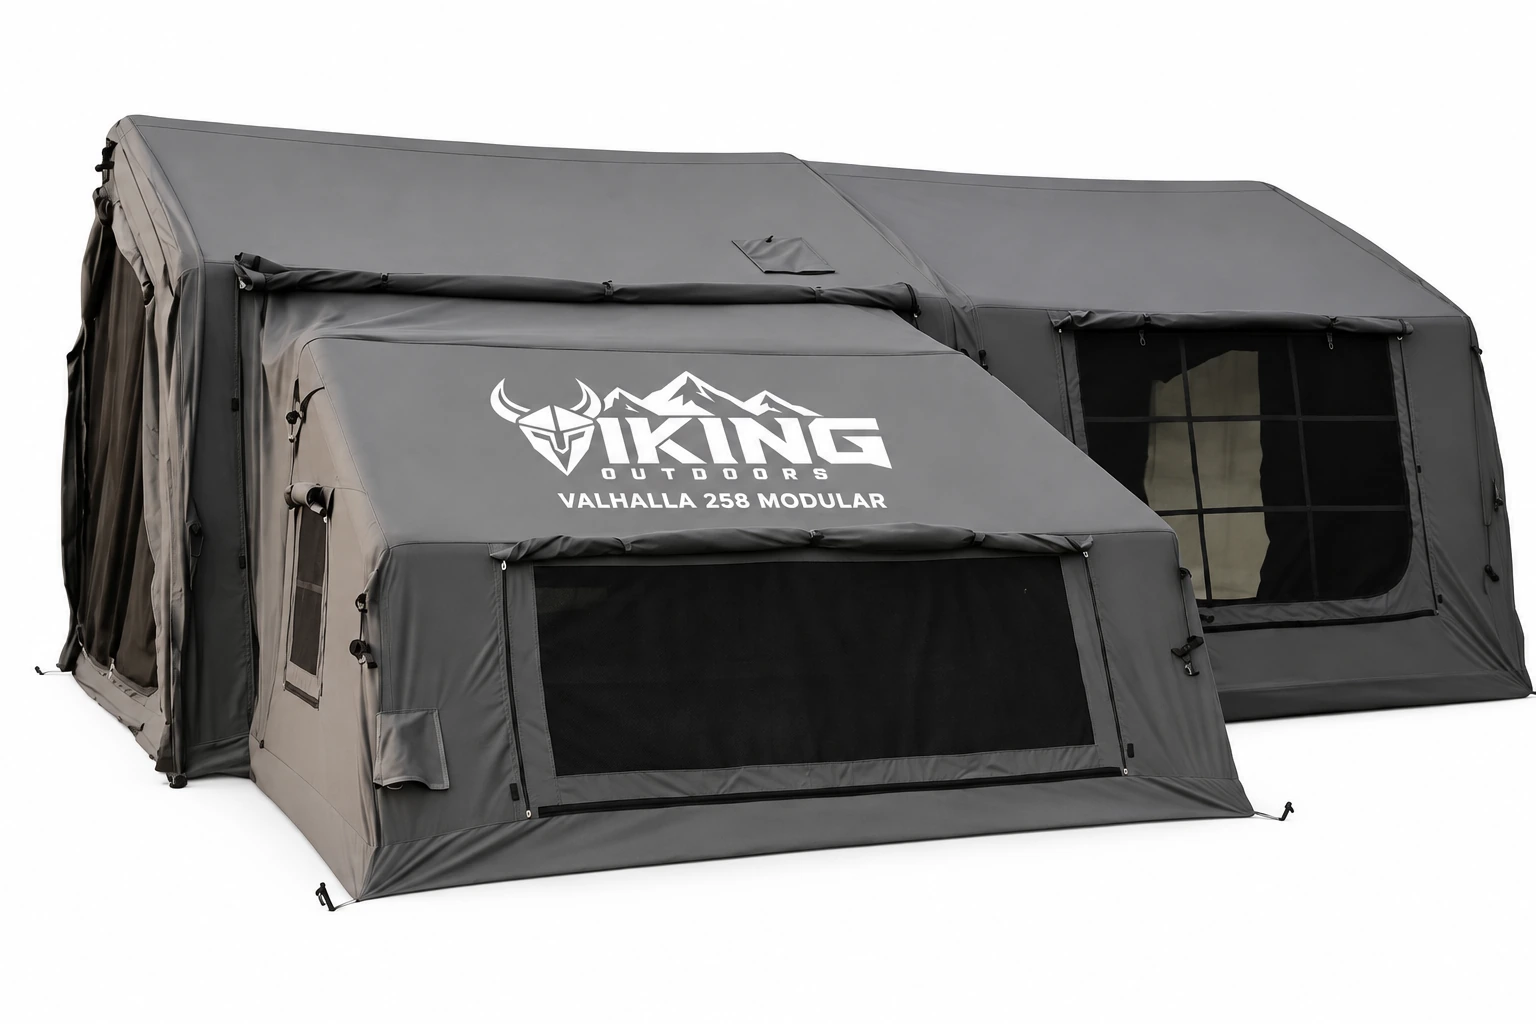
Valhalla tent
Valhalla 258 Modular
$2,999 USD
Two main cabins + one small cabin. 8 ft main cabins; 4 ft 7 in small cabin peak/height profile.
View Valhalla 258 Modular →